A Pro/Am Development Environment
Readers of this book should be able to use any up-to-date personal computer to write and run all of the programs that are developed. This list includes Windows PCs, Apple Macs, Linux PCs and Chromebooks. Where any significant differences between these environments occur then the book text should provide the necessary detail for every reader. Setting up your computer with a set of helpful software tools is one of those areas.
The book forward suggested that you could use a simple text editor alone to learn JavaScript and manage all of the projects. This is true although you will find yourself working faster and smarter with the help of the software tools introduced here.
All of the games (and the game code) will run in any up-to-date web browser but it will be easier if everyone working through this book uses Chrome which is available on all of the PC types including Apple Macs. You can, of course, have multiple browsers installed and many have built in support for software developers but it will greatly simplify things in this book if only one web browser needs to be featured.
The best code editor for a wide range of programming languages is the free “Visual Studio Code” from Microsoft. This is available on all of the PC types supported by this book with the exception of older Chromebooks. On early Chromebooks (those without the “Linux Apps” feature) then you will have to visit the Chrome Web Store and review the range of currently available “code editors”. It is perfectly possible to work through this book using a Raspberry Pi 4 (4GB model recommended) and there are some specific notes on installing the recommended software on that device later in this chapter.
If you have problems locating or installing any of the recommended software then please visit the book website [adit.co.uk] page on this chapter for the latest information.
Installing Chrome
If you do not have the Chrome web browser installed on your computer then start with that. Open any web browser you do have (Firefox maybe or Safari or Edge depending upon PC type) and search for “Google Chrome Download” or point your browser directly at https://www.google.co.uk/chrome/. Download and install the version of Chrome that matches your PC.
You don’t have to make Chrome your default browser, although that will help when tackling and testing some of the projects, so this need not interfere with your current browser preferences.
Node.js
node.js should definitely be next on the list. It can provide runtime services to certain aspects of Visual Studio Code and in any case comes bundled with the npm installer that is used to add plugins.
When your JavaScript skills have advanced then you may well want to use the node.js JavaScript programming environment without involving a web browser.
Using your web browser, visit https://nodejs.org/en/ and download the recommended node.js installer. Then run the downloaded package. If you have an earlier version of node.js installed then this will be overwritten by the up-to-date version. If during the installation you are offered an opportunity to also install tooling for C++ extensions then don’t feel you need to tick the box. If you do choose to do so then the install will be lengthy. This is something you might want to leave for a much later date.
Visual Studio Code
Again, do a web browser search for Visual Studio Code downloads or go directly to https://code.visualstudio.com/download. Choose the download for your PC type (Linux users will have to choose the Linux distribution type), then download and install.
VS Code Extensions
VS Code supports extensions which are small utilities that add features to the core package. While VS Code is brilliant out of the box, I would recommend adding JSHint to help pick up errors in your JavaScript.
Setting up VS Code is covered, more fully, in a later introductory chapter (Chapter 4) so you might want to skip this section until later.
The image below shows VS Code installed on an Apple Mac. Here and on all other platforms look for the extension icon  at the left-hand edge of the window.
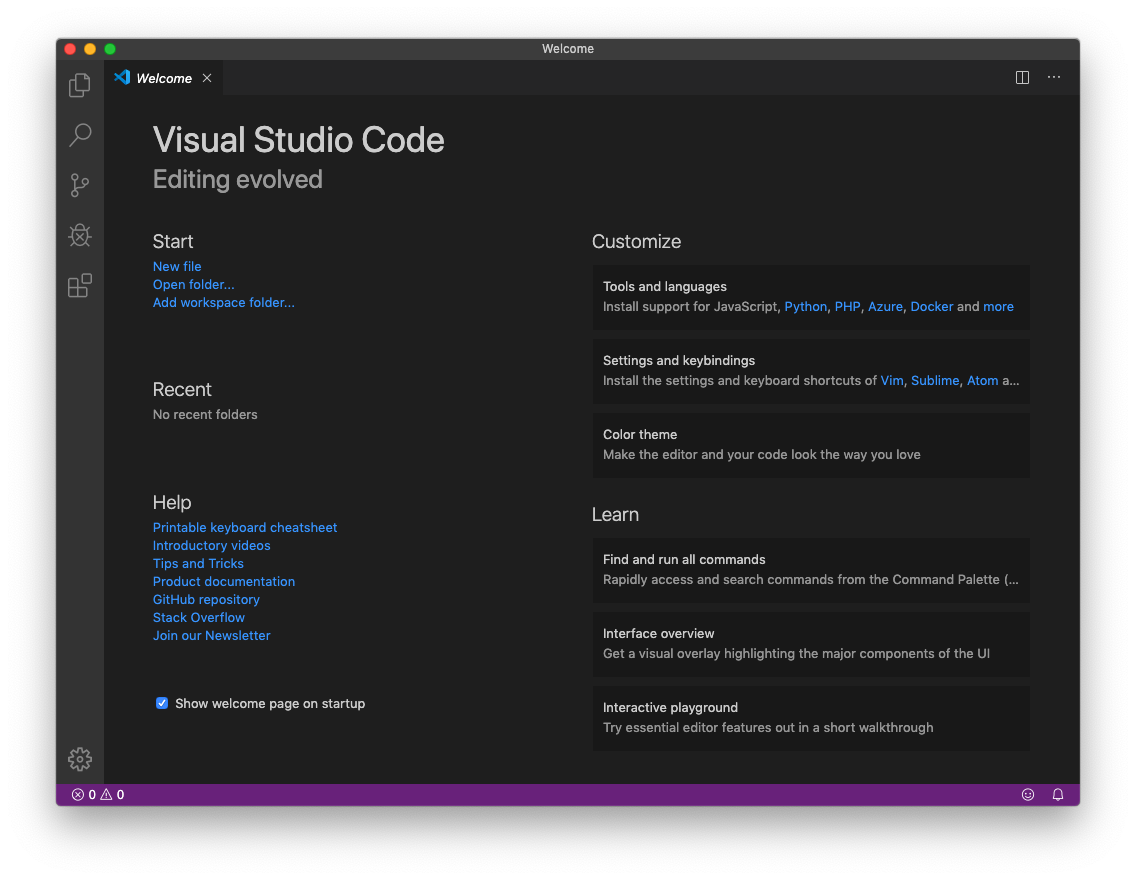
Click the icon and open the extensions marketplace window (they are all free). Use the search facility to locate JSHint and install it.
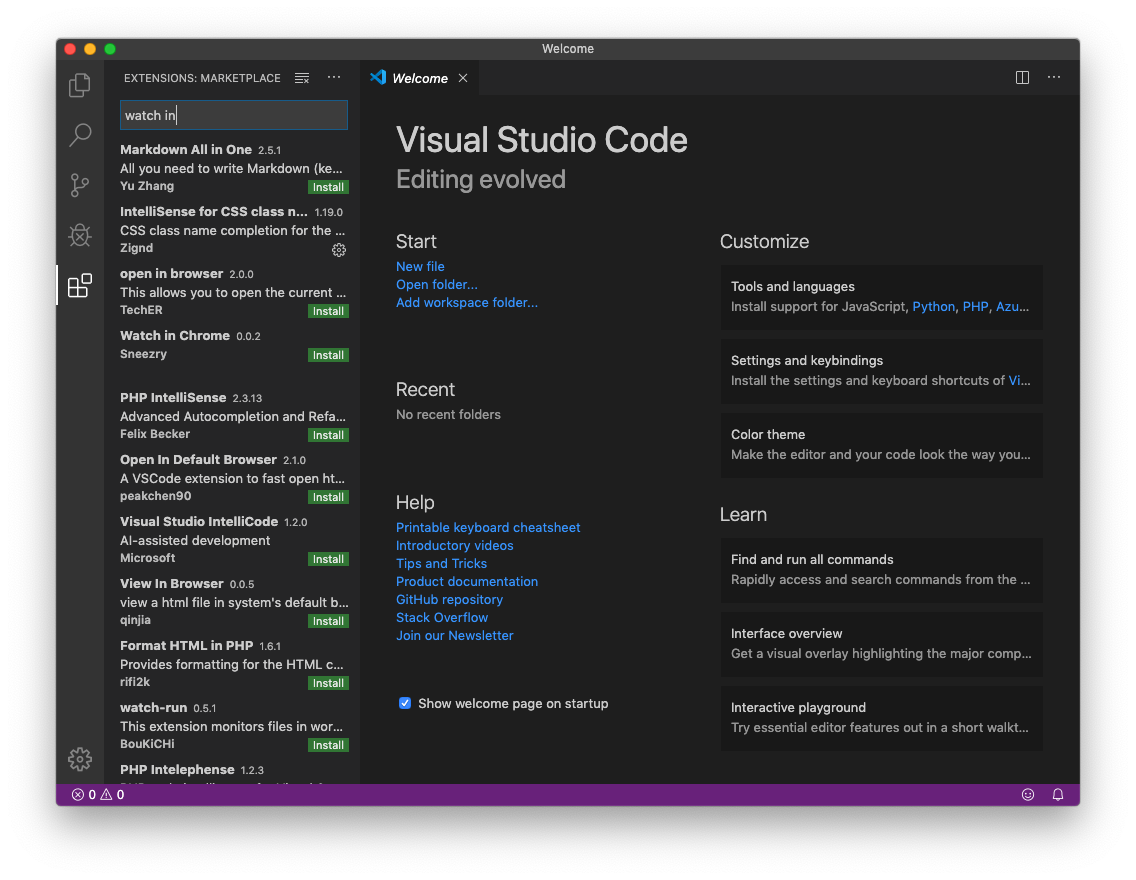
You will probably notice in passing that there is massive support for a whole range of other programming languages and technologies.
Image Editing
While using an image editor is not a programming task as such, designing and writing games does call upon some basic image manipulation to prepare suitable “characters”, objects and backgrounds. Key requirements are to be able to create a new image at a specified size, crop and resize images, draw onto an image with a variety of tools, apply “colours” with zero opacity so they areas can be transparent. You will also need to be able to save images in the .png as well as .jpeg formats. If you already have skills in this area then you probably already have a good tool available. If not then you might need to add one.
All of the images needed to work through the game projects in this book are available for download from the book web site. You will only need to use an image editing tool if you want to make changes to the images used or to extend the range of images used.
On Windows PCs the best choice for image editing is paint.NET. An Internet search might still find a link to a free download but you will find yourself very much encouraged to make a contribution to the development costs of this great piece of software. The simplest way forward now, is to download the paid version from the Windows Store and treat the small fee as a donation to the project. Windows Store will keep you up to date with new releases which come frequently.
On Linux and Mac, the recommended download is the Paint.NET clone Pinta, being developed on top of the Mono version of the .NET framework.
Locate the Pinta Project at https://Pinta-Project.com.
Apple Mac users will need to first download and install Mono for OS X from that page and follow that with the program download and installation.
Linux users will need to open a terminal window and enter the following commands to add the required ppa:
sudo apt-repository ppa:pinta-maintainers/pinta-stable
sudo apt-get update
Following that, your distribution app installer will be able to locate and install the Pinta software.
Alternately, experienced Linux users can download the tarball.
This is one area where I think Chromebook owners might struggle. I found a good range of photo editors available for that platform but they represent a subset of what is needed for game image editing. Chromebook users may need to borrow someone else’s PC or image collection for any image related tasks.
The day the draft for this chapter was completed, a company called Codecks published the list of tools they used to create an HTML5 game called “Curious Expedition” on Steam. At that point in time (early November 2019) it had sold over 200,000 units. While their list was a little longer that ours it featured Visual Studio Code, Chrome and paint.NET as key development tools. So, maybe our collection is very much more Pro than Am.
The Raspberry Pi 4, 400, 5 & 500
At the time of writing the default operating system for the Raspberry Pi 4 was still a 32 bit OS while the processor was 64 bit. This will undoubtedly change. When the Raspberry OS becomes 64 bit then please follow the instructions above to locate and install the recommended software. The following notes are intended to assist those using a 32 bit OS to install the programming tools.
Open a terminal window and enter the following commands in sequence:
sudo apt install nodejs
sudo apt install npm
sudo apt install code
Update
I recently updated the OS on my Raspberry Pi 400 to the 64 bit version using the excellent Raspberry Pi Imager (available here). Note though, that this will completely remove all existing data on your device microSD card so please backup any files you want to keep before trying this.
Mice
I don't think it is possible to develop more than the most trivial program without having a mouse plugged into your PC.
Feel free to try and prove me wrong, and I wish you well, but I don't believe it could ever be worth the effort.