Learn to Program
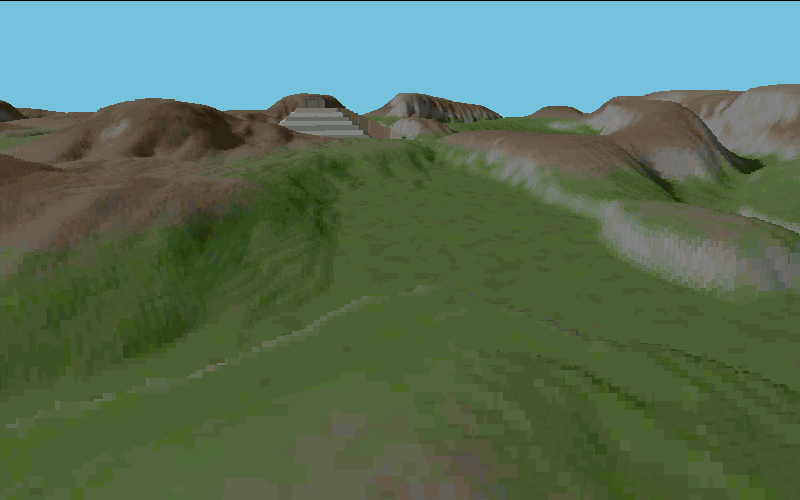
Chapter 13: Voxel Terrain
This project needs a web server
When the book was first published the extension called "watch in Chrome" acted as a web server and this project needed a web server as Chrome (and other sensible web browsers) is not at all keen on loading files from a local PC drive unless they are specified in the page HTML and/or loaded into an <img> element. The book identified this as a problem for users of early Chromebooks and recommended the use of a Chrome extension known as "200 OK". Instructions for running and using that extension (which is a simple web server) are available here. That solution is a valid one for all PC types. The worry is that that Chrome extension may become deprecated or end of life.
The solution is to run a node.js based web server for your game project folder.
There is also a downside to this approach as it will add a lot of files in a sub-folder to your project and take up some additional disk space. I would estimate about 43MB.
The first requirement is, of course, that you have node.js installed.
Then when you have created the new game folder you need to use VS Code to create another file. It should be called package.json and it should have the following content:
                     {
                        "name": "voxel",
                        "version": "1.0.0",
                        "description": "Voxel terrain based game project",
                        "scripts": {
                        "lite": "lite-server --port 10001",
                        "start": "npm run lite"
                        },
                        "author": "",
                        "license": "ISC",
                        "devDependencies": {
                        "lite-server": "^1.3.1"
                            }
                     }
Alternately you can download this zip file and unzip the package.json file to your project folder.
The next step is to use the VS Code Terminal menu and select "New Terminal". When the terminal window is open in the lower section of the code window then enter the
following command:
npm install
npm will then install the necessary files to support your web server. This may take a minute or two.
The next thing you need to do is ensure that the HTML file for this project is called index.html as suggested in the book. If you called it anything else, then you
can right-click the file name (using the Explorer view) in VS Code and select the rename option.
It is also a good idea to make Chrome your defauilt browser (if it is not already) while working on this project.
Now, when you want to start your first game test run, all you have to do is start the web server. This will automatically load the index.html file into your browser. You can leave the browser window open as any changes to any of the project files (HTML, CSS or JavaScript) that are saved will cause the server to reload the game to include those changes.
Start the server from the Terminal tab with the following command:
npm start
On a Windows PC you will probably need to reassure Windows Defender (or some lesser anti-virus software you might run) that all is well but Linux and Mac PCs do not seem to be at all troubled.
The server will continue to run until you close the terminal tab or close VS Code. The server can be restarted at any time from a Terminal tab with the "npm start" command.
Voxel Code Downloads
Extras
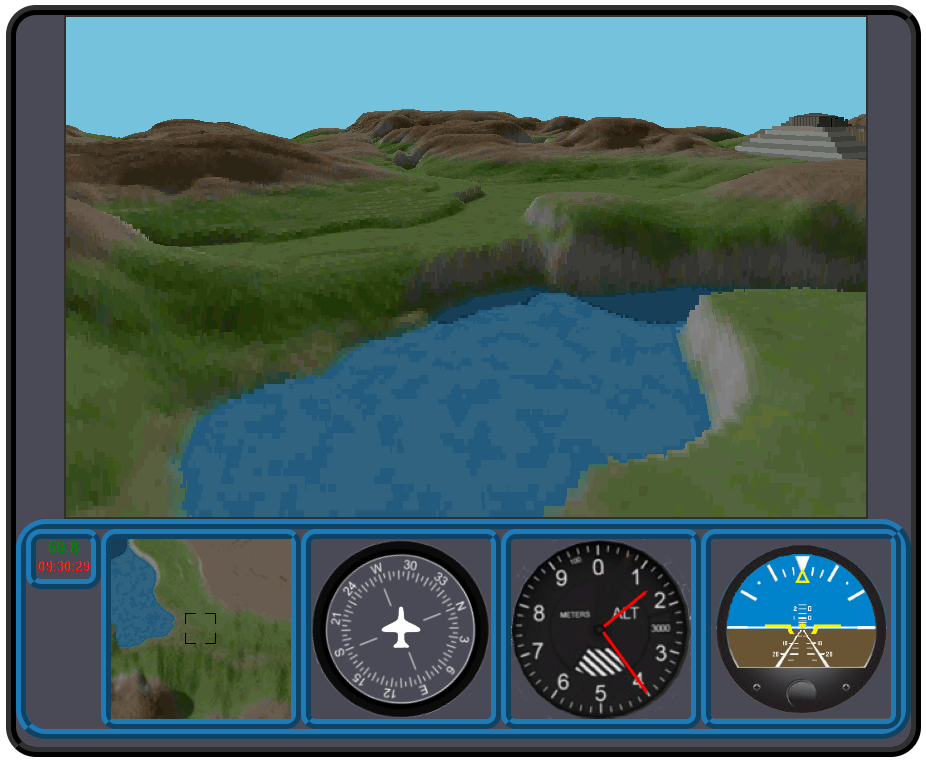
The code for the flight instruments mentioned above is here but it uses SVG which is not covered in the book.Chapter Images